
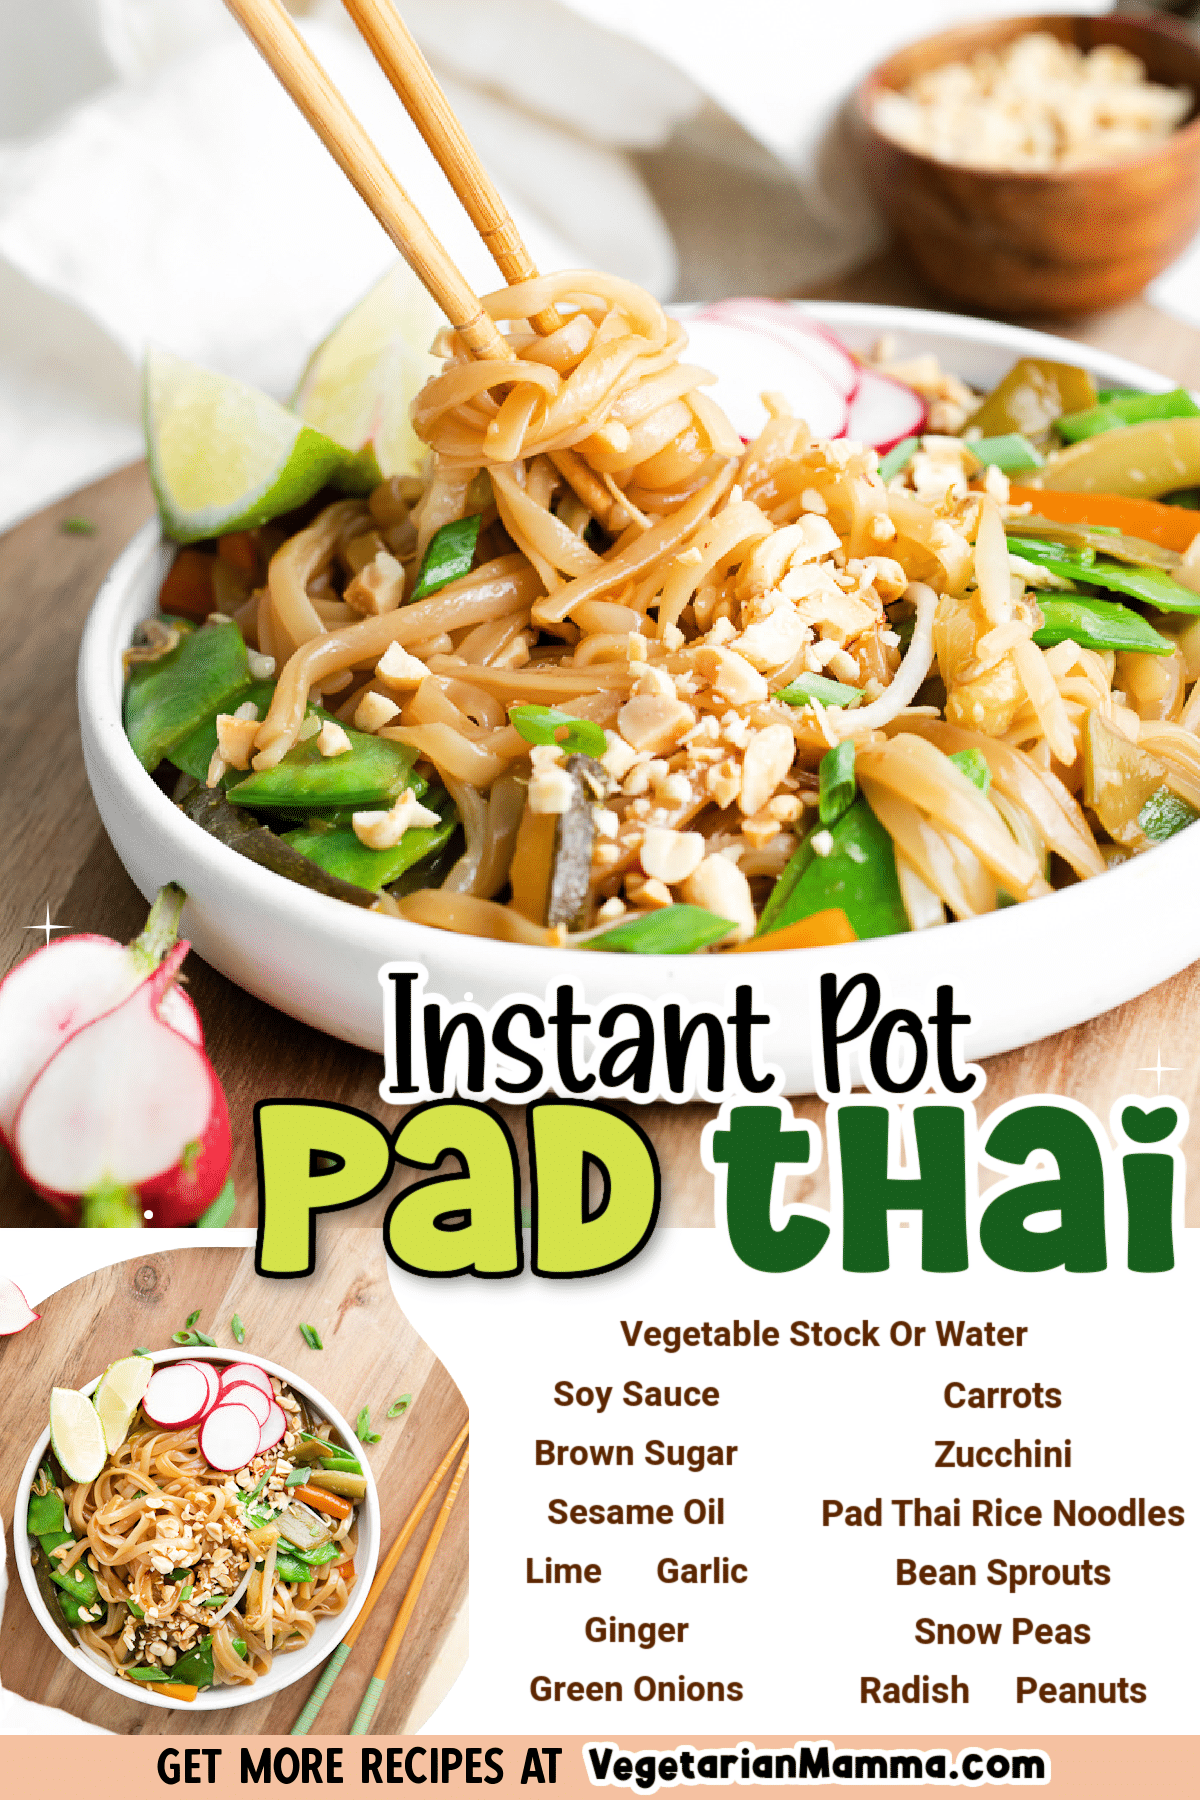

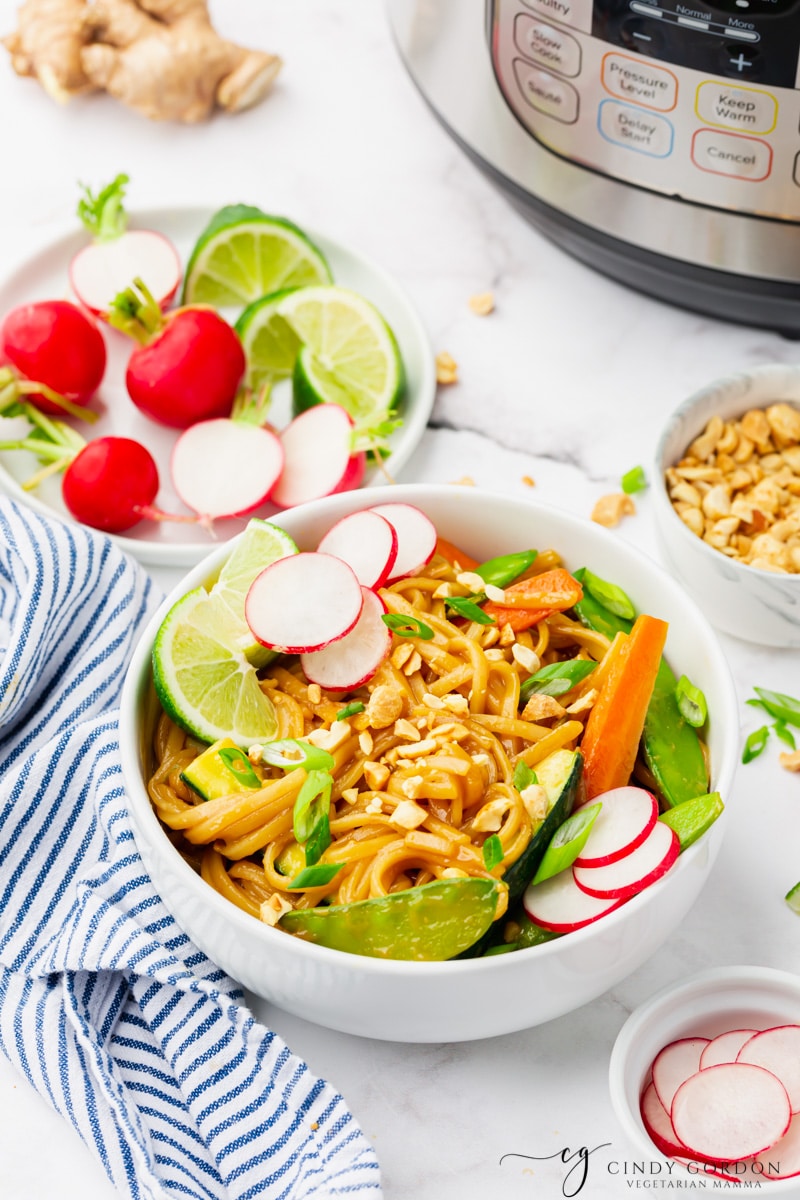
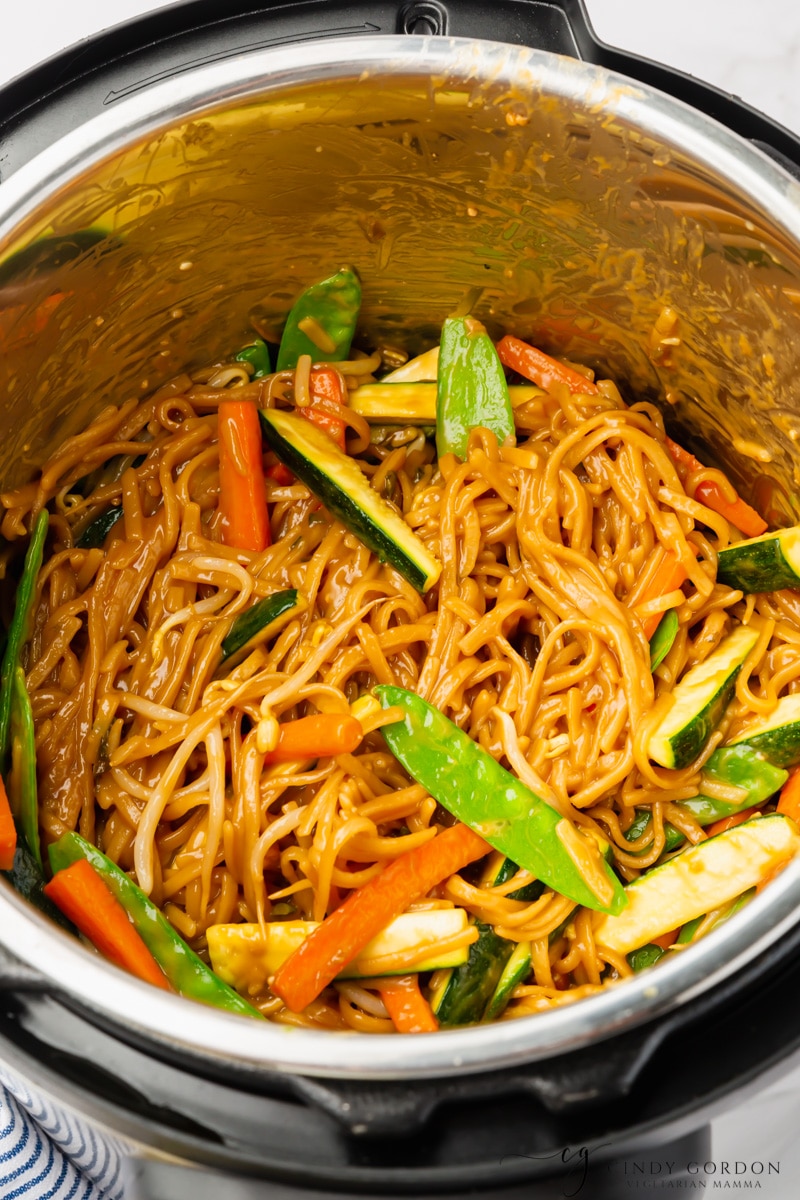
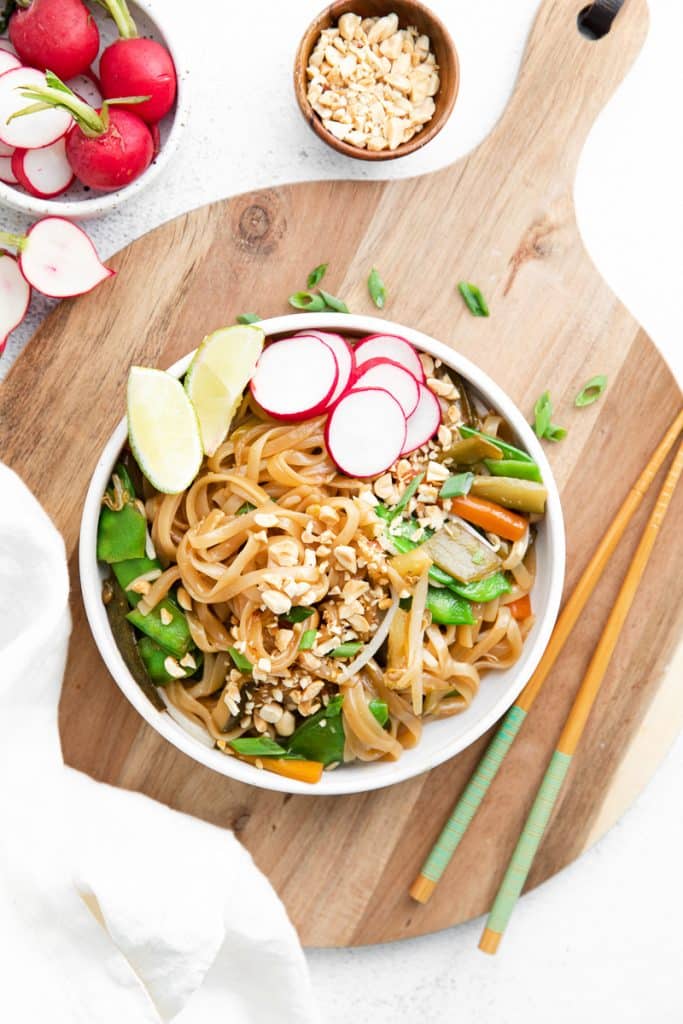
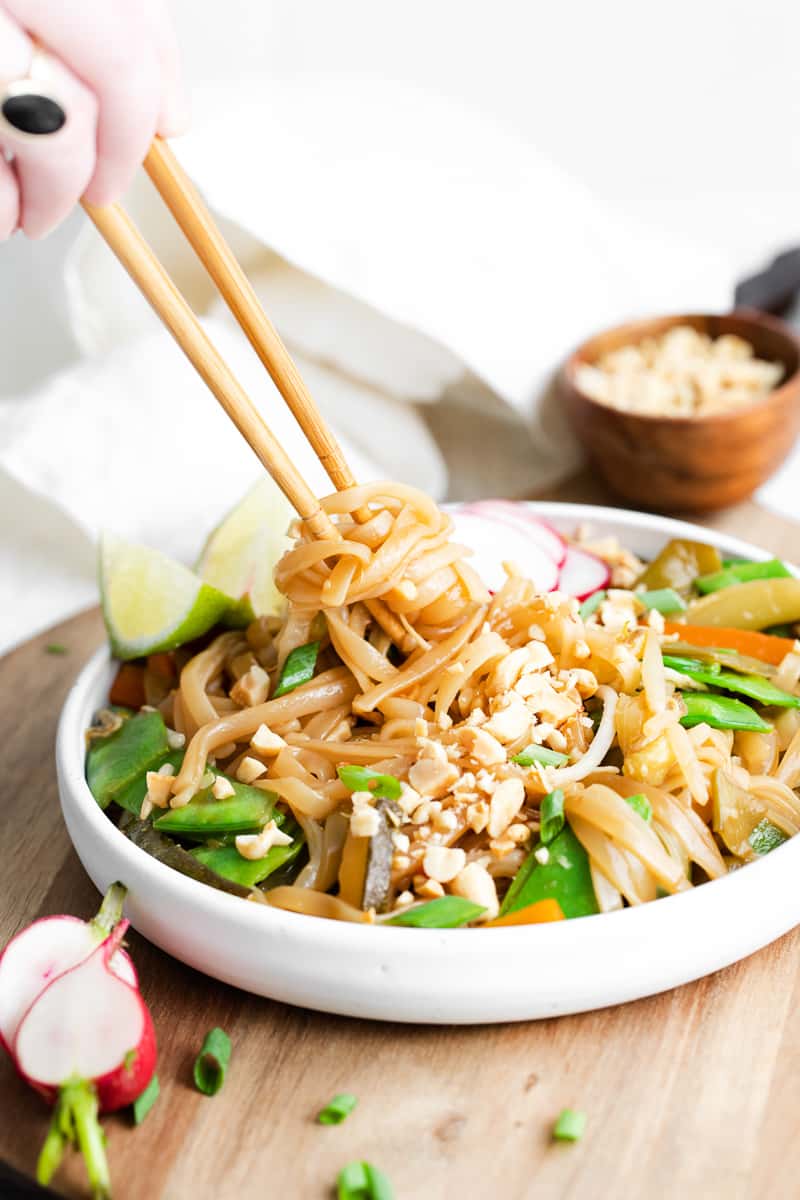
Make this wonderfully seasoned Pad Thai dish, packed with vegetables and noodles, in the Instant Pot for a simple, fast, homemade meal that's better than takeout.
INSTANT POT PAD THAI RECIPE
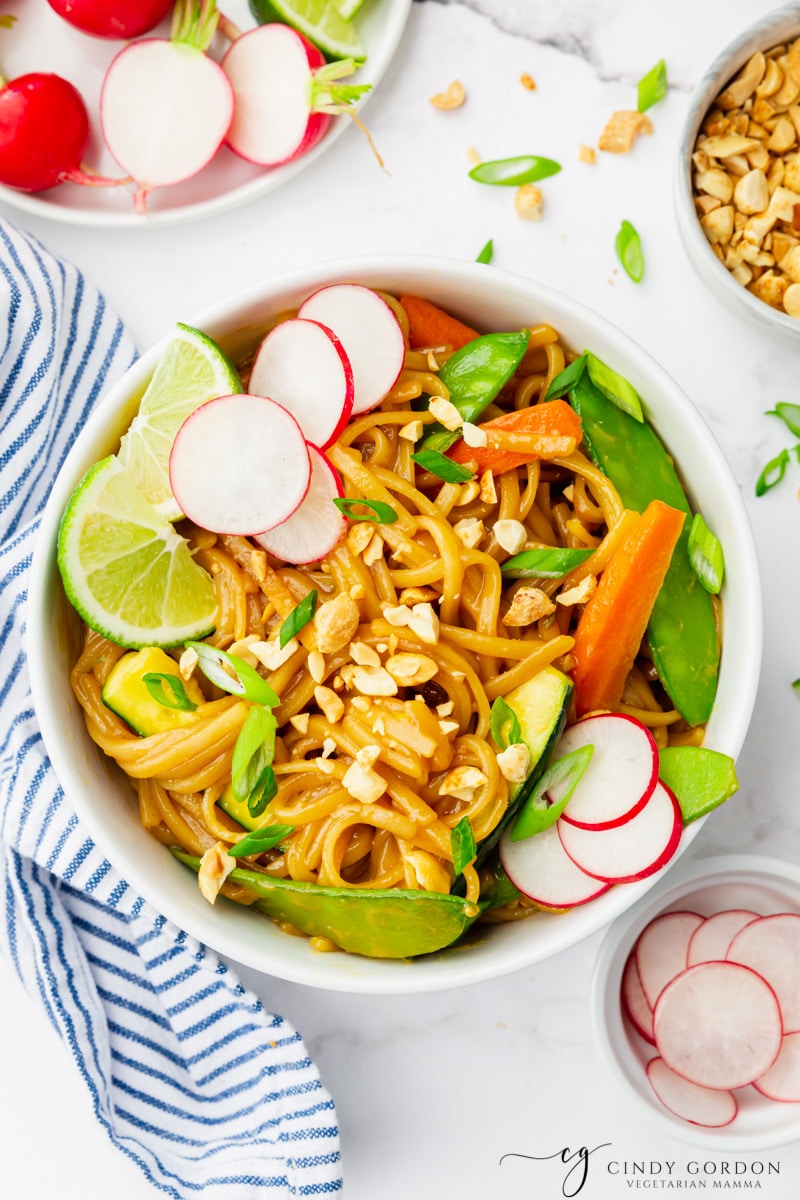
Pad Thai is a delicious Asian dish, that can be found and ordered from Thai restaurants everywhere. It's rice noodles tossed in a sweet and savory sauce, usually topped with chopped peanuts, hot peppers, and bean sprouts.
Traditional pad thai includes tamarind paste and fish sauce, but we're leaving both of those out in favor of using simplified, vegan ingredients instead.
This dish is slightly different everywhere you order it, and can very easily be customized with meat, tofu, and vegetable add-ins, especially when you make it yourself.
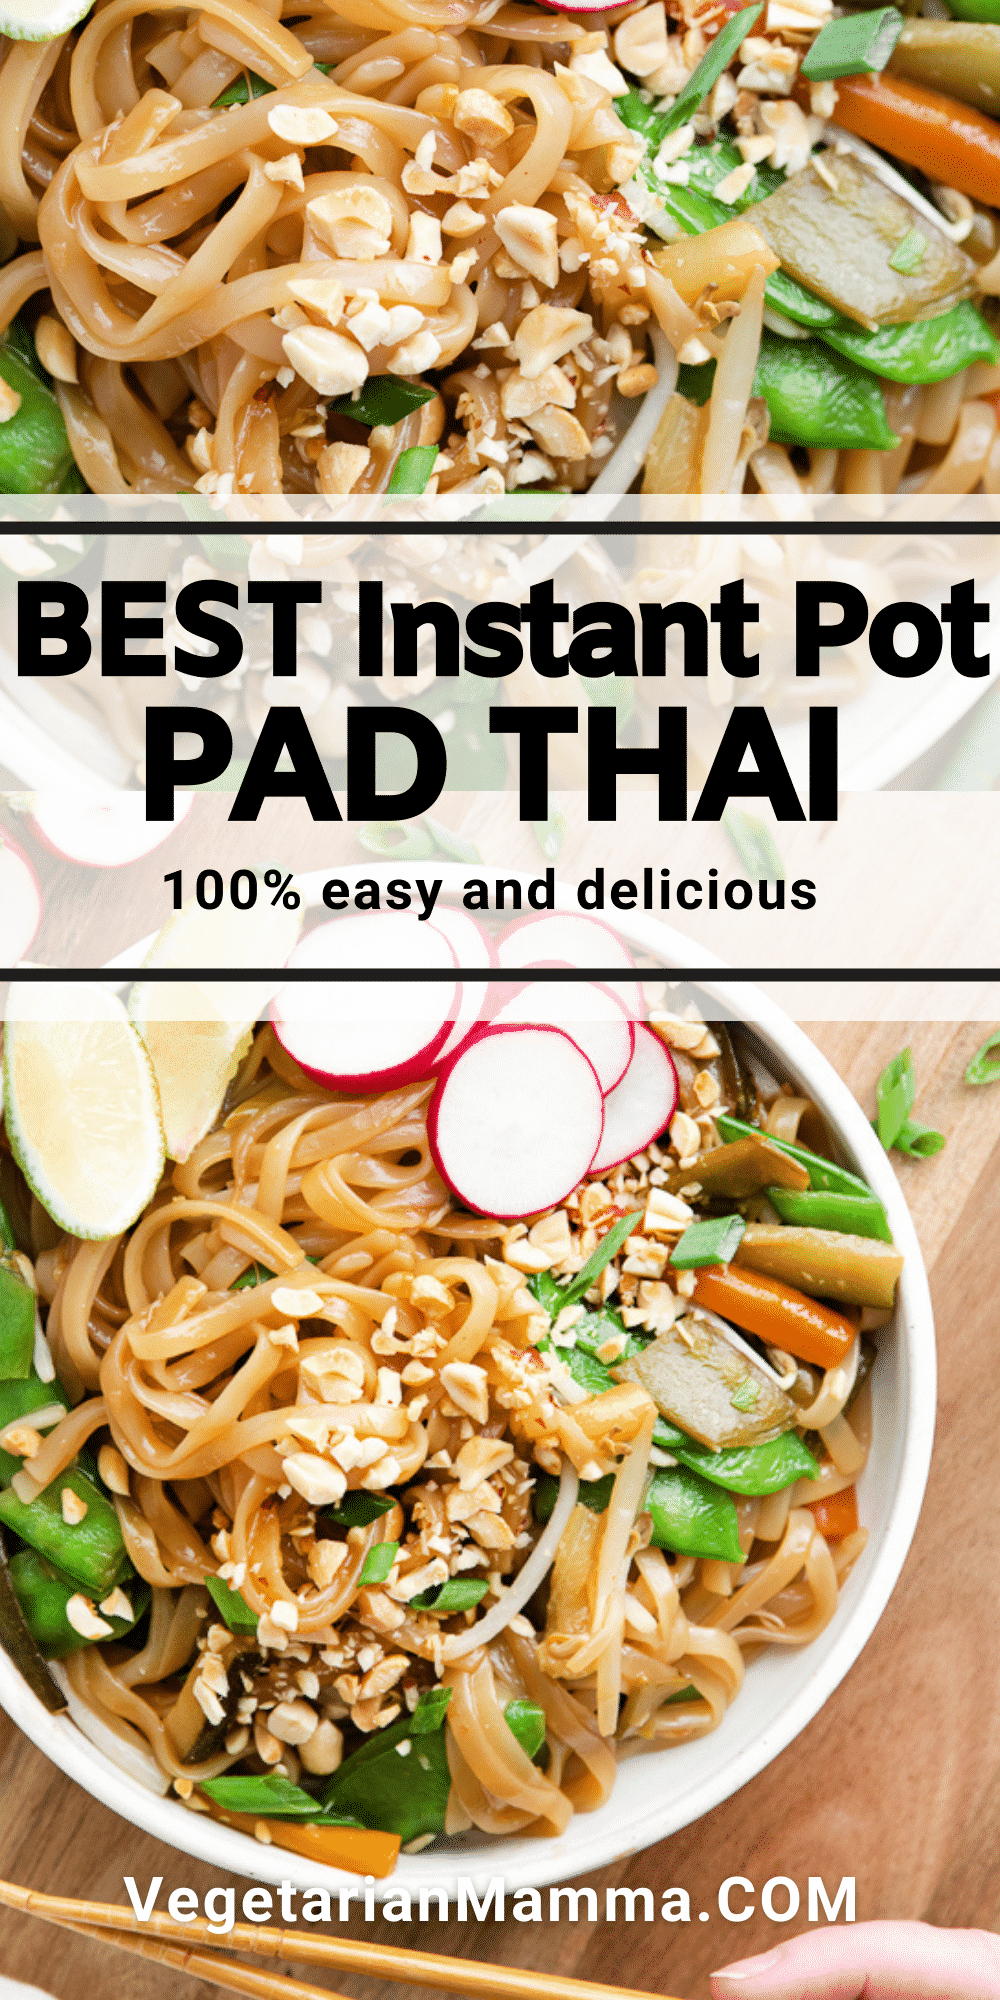
This Instant Pot Pad Thai recipe is gluten free, vegetarian, vegan, and full of veggies. I've included all of my favorites, including snow peas, carrots, and zucchini to make a colorful and flavorful Pad Thai that rivals dishes I've eaten at Thai Restaurants.
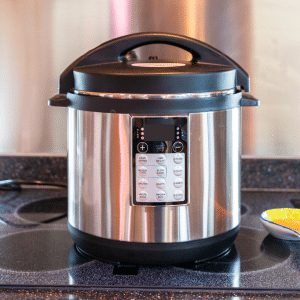
Making takeout dishes at home lets me control all of the ingredients, and eliminates any risk of cross-contamination of gluten, so I'm more than happy to do it. Using the Instant Pot makes quick, simple work of it too.
Prefer to make dinner using the stovetop? Try this recipe for Tofu Pad Thai or this Gluten Free Ramen.
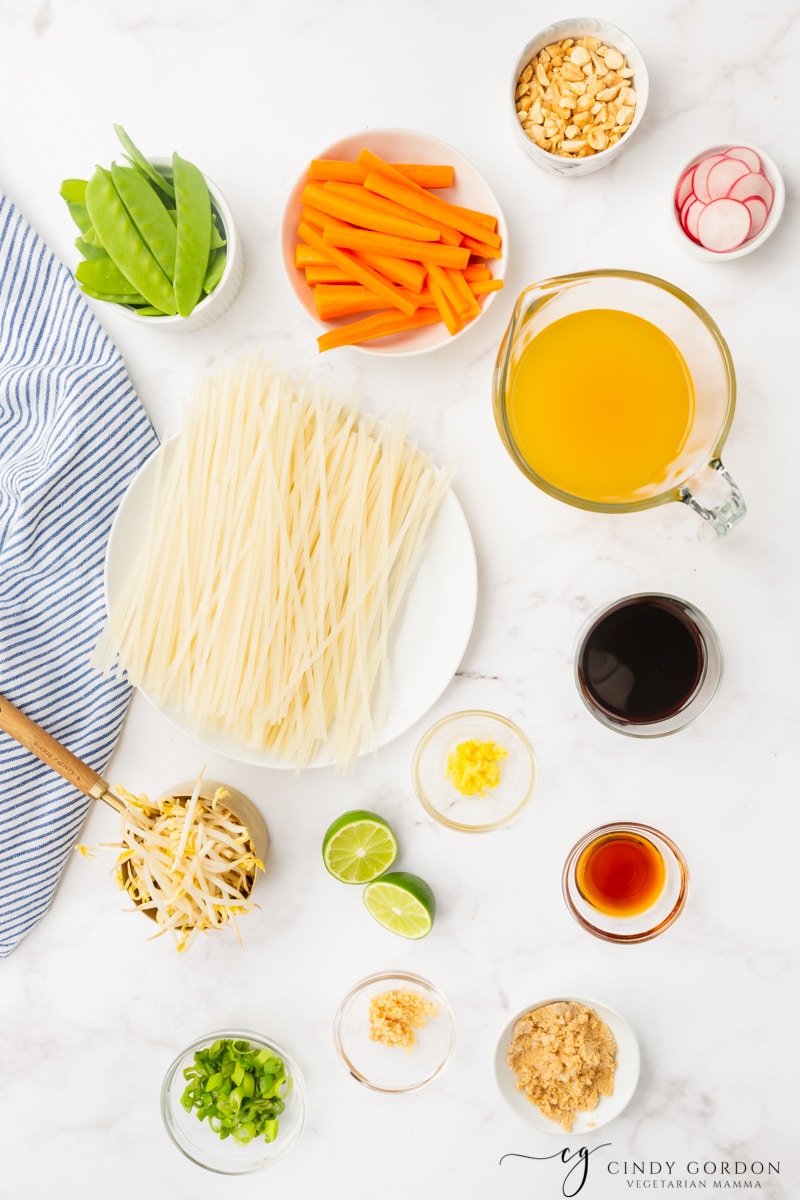
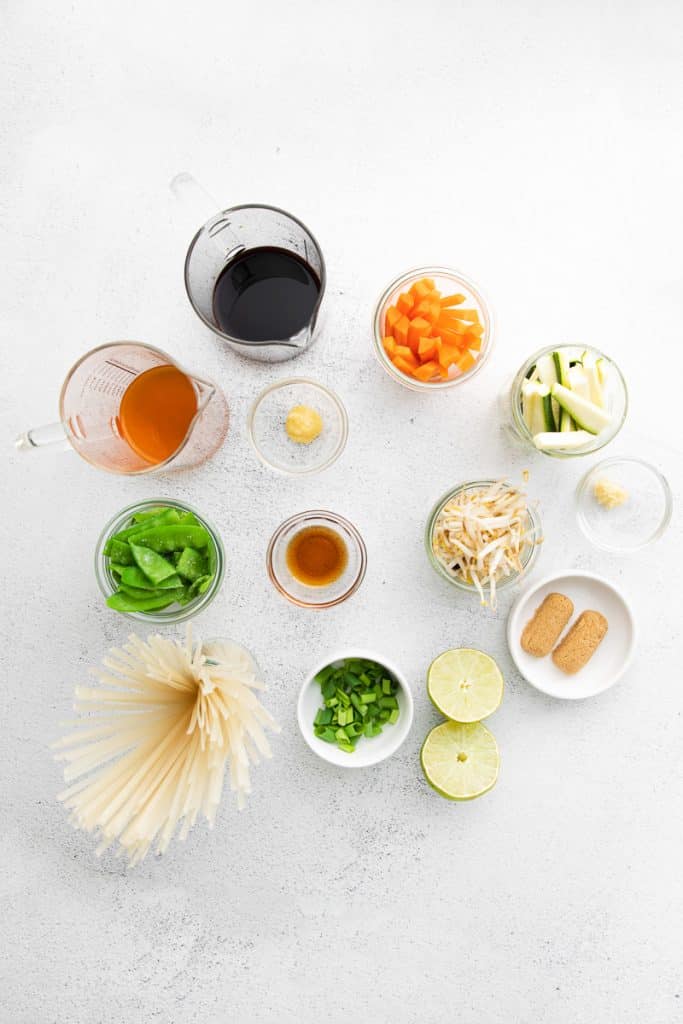
INGREDIENTS IN INSTANT POT PAD THAI
Vegetable Stock - You can use water if you don't have stock. This is the liquid needed to operate the instant pot, and what cooks all of the ingredients. You can also use this Vegetable broth powder and just add water!
Soy Sauce - Substitute with Tamari or coconut aminos if you like. This umami flavor is key to most Asian dishes as it's a staple in Asian cooking.
Brown Sugar - A bit of sugar gives our Pad Thai its distinctive sweet/savory flavor.
Sesame Oil - This nutty oil is used in the sauce to add a warm, savory flavor.
Lime - The juice of one lime gives us a fresh, citrus kick.
Minced Garlic - Mince your own, or use the jarred prepared kind. Both work perfectly.
Grated Ginger - You need about 1 inch of ginger to get the amount that we need for this recipe. Prepared ginger can also be found at most grocery stores in tubes and is very convenient, particularly if you only need a little bit of ginger every once in a while.
Green Onions - These mild onions add a home cooked flavor to Pad Thai.
Carrots - Slice your carrots into matchstick pieces so they are easy to eat with the noodles.
Zucchini - Slice the zucchini the same as you did the carrots.
Rice Noodles - For this recipe you'll need dry noodles rather than fresh ones.
Bean Sprouts - I love these crunchy sprouts, and they are a traditional Pad Thai inclusion.
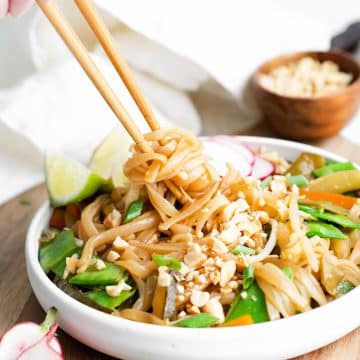
Snow Peas - We'll add these in the end so as not to cook them too much. I love the color and crunch that they add. I cut them in half so they are easy to eat with chopsticks.
Chopped Raddish and Chopped Peanuts - Garnish the top of your Pad Thai bowls with these too for flavor and more crunch.
If you have any questions, please leave a comment below and I will get back to you ASAP!
WHAT TO SERVE WITH INSTANT POT PAD THAI
This is a full meal on it's own, but could benefit from some extra protein.
Make Air Fryer Eggs to serve on the side of the bowl, or top the dish with some Crispy Air Fried Tofu.
For a filling Asian meal, serve pad thai with these Vegetarian Thai Lettuce Wraps stuffed with crumbled tofu in a delicious sauce. Or maybe you want to ditch the instant pot and just make Vegan Pad Thai on the stove!
WHAT CAN I PUT ON TOP OF PAD THAI INSTEAD OF PEANUTS?
If you don't like peanuts or have an allergy, you can just leave them off. Your Pad Thai will still be delicious! Alternatively, you can top your dish with sesame seeds, sunflower seeds, or chopped almonds.
MORE DELICIOUS VEGETARIAN TAKE OUT RECIPES:
Sesame Tofu is one of my favorites. Crispy pan fried tofu is tossed with a sweet, savory and spicy sauce. It's delicious served with rice.
Need a quick and easy meal? Try Air Fryer Fried Rice!
Another instant pot Asian meal, Instant Pot Ramen is a favorite at my house. It's comforting and so tasty.
Make Air Fryer Edamame to enjoy this veggie snack in just a few minutes.

Yay! You have made it this far, and I am so glad! Hey, if you make this recipe, I’d love for you to give it a quick review and star rating ★ below. Make sure you follow me on Pinterest, Instagram, and Facebook, too!
Instant Pot Pad Thai
Equipment
Ingredients
- 1 ¾ cup Vegetable Stock or water
- ½ cup Soy Sauce If you are gluten-free make sure the soy sauce is gf
- 2 tbsp Brown Sugar
- 1 tbsp Sesame Oil
- 1 Lime Juiced (about 1 tablespoon)
- 1 tsp Minced Garlic
- 1 tsp Grated Ginger
- 2 Green Onions thinly sliced
- 8 oz. Pad Thai Rice Noodles
- 2 Carrots thinly sliced or in matchsticks
- 1 cup Bean Sprouts
- 1 cup Snow Peas
- 1 zucchini thinly sliced or in matchsticks
- 2 tbsp chopped radish
- ½ cup chopped peanuts
Optional to add more flavor:
- red pepper flakes
- Sriracha (to taste)
- lime (additional fresh lime juice squeezed on serving)
Instructions
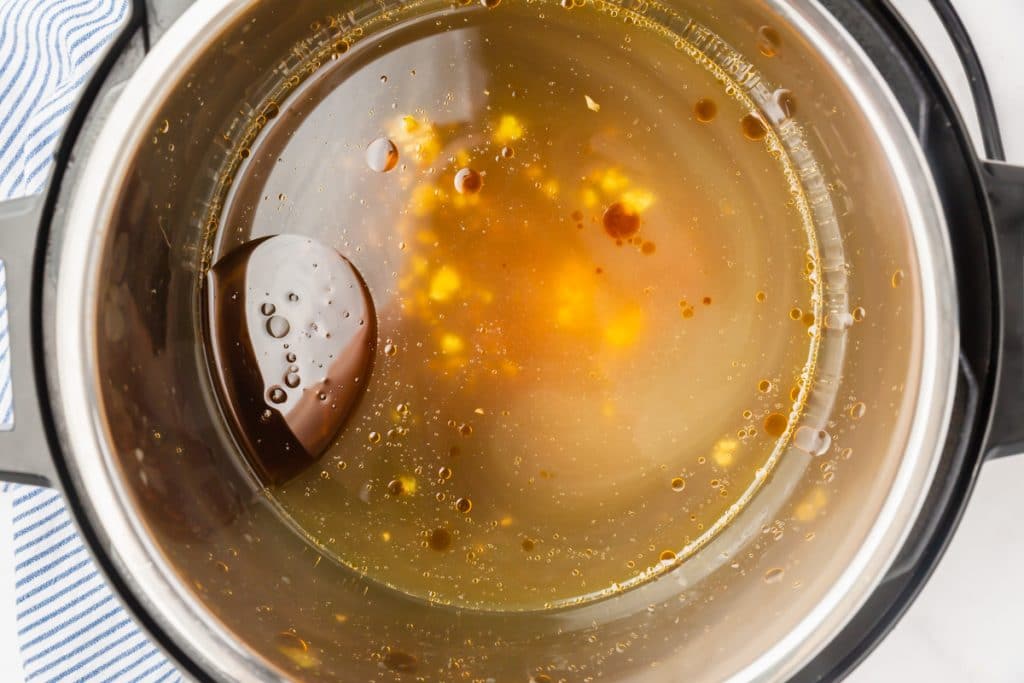
- Gather all ingredients together. Press Saute on the Instant Pot and add in the vegetable stock, soy sauce, brown sugar, sesame oil, lime juice, garlic, and ginger. Whisk the sauce and allow it to cook until the brown sugar dissolves-- about 2 minutes.

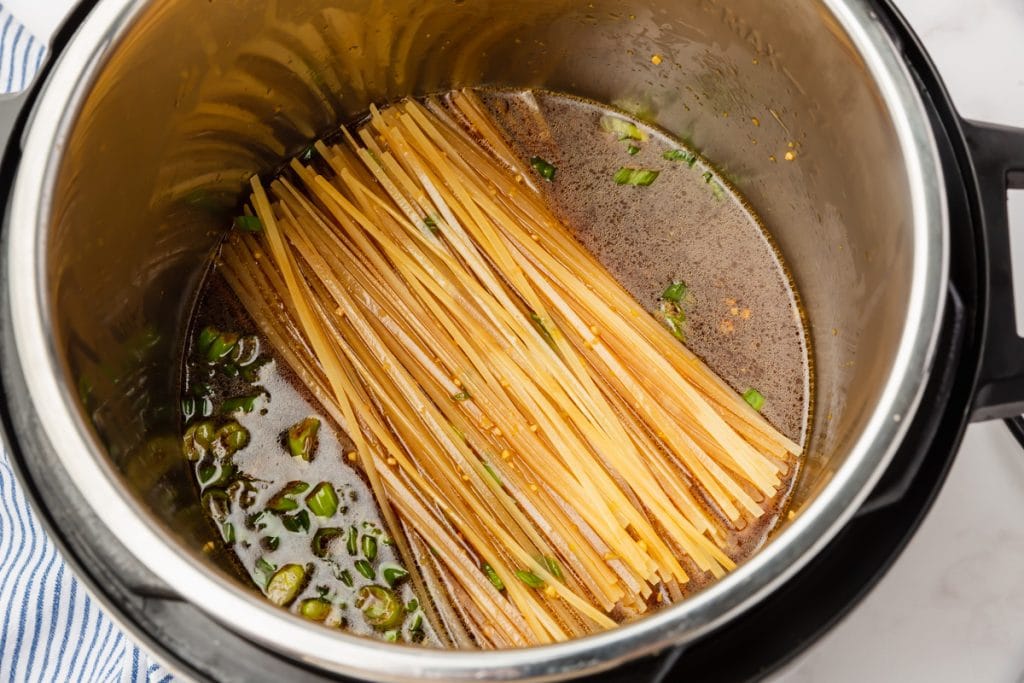
- Add the green onions and pad thai noodles. Spoon some of the sauce mixture over the noodles so they get saturated.

- Turn the Instant Pot to Pressure Cook-Manual for 3 minutes. Make sure the valve is in the sealing position. When the Instant Pot has finished cooking, let the mixture "natural" release for 2 minutes, then release the pressure manually by switching the valve to the venting position-- be careful, it will steam.
- Remove the lid and stir to make sure the noodles do not stick to the bottom of the insert. Add in the carrots, bean sprouts, snow peas and zucchini.
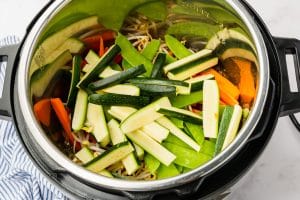
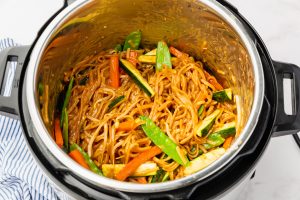
- Attach the lid and once again, turn the Instant Pot to Pressure Cook-Manual for 0 minutes. Once the timer goes off, immediately release the pressure manually by switching to the venting position. Mix together.
- Garnish with sliced radish and chopped peanuts and enjoy.
Notes
- These proteins can be added after the Pad Thai has already cooked: Cooked scrambled or hard boiled eggs, cooked tofu.
- TIP: I like to spoon the sauce over the uncooked pad thai noodles before you place the lid on the Instant Pot. I find it helps them soak up more liquid and cook more evenly.
- I like to spoon the sauce over the uncooked pad thai noodles before you place the lid on the Instant Pot. I find it helps them soak up more liquid and cook more evenly.
- I find that the vegetables get too mushy if put in to cook with the pad thai noodles, so I like to add them after the noodles have already cooked. To let them steam and cook through, immediately after the noodles have finished cooking and the pressure is released, I open up the lid and add the vegetables. Immediately put the lid back on the Instant Pot, set the valve to sealing and set the timer for 0 minutes. Basically, the pressure will build up and then once it builds, the timer will go off. It takes just 4-5 minutes, which is enough for the vegetables to cook through. I also like to place my vegetables in the Instant Pot in the order they are listed in the ingredients list. Carrots go on the bottom since they are heartier and need a little extra heat to cook through. Zucchini goes on the way top, since it doesn’t need as much cooking time and tends to get mushy easily.
- If you find that your noodles have soaked up all the liquid and you don’t have a little extra liquid before you place the vegetables in the Instant Pot, just add an additional ¼ cup of water or vegetable broth and give it a quick stir. This will help ensure that the noodles don’t get stuck to the bottom of the pan while the vegetables steam.
Nutrition


This recipe is so easy and quick and my whole family loved it! I just love my Instant Pot and now that I know I can make Pad Thai in it, I'm in heaven!
Hi Emily! So glad your family loved it!
We love Pad Thai here. Looking forward to trying this recipe in my instant pot!
Oh wow, this looks so delicious. My family is going to devour it!
This recipe is so quick!! A great one pot meal. My family loved it so much there weren't any leftovers!
I love how the Instant pot makes everything so much easier! This recipe sounds super delicious, can't wait to give it a try!
Amazing flavors, But I was so disappointed, This was the first time using my new instant pot, when it was done my veggies were mushy and my noodles were stuck together in one big block, as of right now I’m not impressed with the instant pot :/
Hello Tamia, thanks for writing, I'd love to help you trouble shoot your new instant pot! 🙂 They can be a little tricky at the start but once you get the hang of it, I bet you'll love it! One of the biggest things for this recipe is to make sure you are doing the manual high pressure (if using the instant pot brand) And the quick release. The quick release is the force pressure release at the end. If you let the veggies and noodles sit in there while it naturally releases it continues to cook :). That could make them mushy. Do you remember if you did a quick forced release at the end? 🙂
I am with you! New to the Instant Pot, and this recipe didn’t work out super well for me first try...
I completely agree that the flavours are amazing on this one, but my noodles were really overdone and the veg was slightly underdone. The sauce got stuck to the bottom.
Perhaps I should have done a shorter initial pressure time or immediate manual pressure release?
Hi Mallory, thank you for leaving a comment and I am sorry to hear that it didn't turn out. For some reason, this seems to be a recipe that works for some and not for others. I apologize you fit into that later category :(. For the sauce getting stuck it sounds like there was not enough liquid when you added the veggies to remedy that I would: add little extra liquid before you place the vegetables in the Instant Pot, just add an additional ¼ cup of water or vegetable broth and give it a quick stir. This will help ensure that the noodles and sauce don’t get stuck to the bottom of the pan while the vegetables steam. That extra liquid will make sure that the veggies steam.
I really do apologize it didn't work for you, I've made it several times and have had others test it since we've gotten some comments it didn't work for people. Good, but also bad it worked for the testers so that didn't give me any insight on what might be going wrong and how to problem solve it! :(.
I think in your case with the mushy noodles, you are correct it, you could have done a shorter initial time for pressure and an immediate release.
Alternatively, since you enjoyed the flavors, others have told me that they have done the veggies first with the sauce, then add some water, put the machine on saute, add noodles, stir, put lid on and check/stir every 3 minutes until noodles are done and soaked up the water. You do have to play with the water amount though, I do not have a measurement, the readers who shared that with me did not provide that.
I was so excited to try this recipe but it just didn’t work out for me. I’m not sure what I did wrong. The veggies were mushy, the noodles were hard, there wasn’t any flavor and the liquid burnt on the bottom on the instant pot. Help, what did I do wrong? I will say when I put the top on I was a bit hesitant as I didn’t think there was enough liquid to cook the noodles.
I hope to try again with better results!
Hi Whitney, sorry for my delay in my response and I am sorry to hear it didn't turn out for you! One of our team members developed this recipe, so I was waiting to hear back from her (she was on vacation). I instead remade it today and adjusted the recipe card ingredient amounts. I did 1.5 cups of veggie broth (I would go up to 2 cups if it looks like its not very liquidy after you add all your ingredients in the order, Sometimes some ingredients are bigger than others and take up more room) I also adjusted the soy sauce to 1/2 cup. I used 8 oz of packaged rice noodles. I increased the cook time by 1 minute and then gave it a natural release of 2 minutes before forcing the release to add in the next ingredients. This seemed to do it for me. When you add extra liquid you can't go wrong because if it has too much liquid at the end, you can keep it on saute to help burn some of that liquid off. For extra flavor, I added things to the individual bowls. My kids liked it as is. I added red pepper flakes, a large dash of sriracha and more fresh lime juice to my bowl. I hope that helps and sorry for your troubles.
Thanks for this recipe! Was very excited! The pad Thai came out okay… not sure what I am missing but it’s a bit of lemony-like taste rather than a proper pad Thai taste. Don’t know how to explain it. And there was a lot of liquid left at the end… I don’t know if it was too much d so it sauce or what.
Hi Sabrina, I am sorry I am just seeing it, it was stuck in the spam folder! My apologies! The extra liquid comes when the noodles not absorbing correctly. It seems to be brand specific for the noodles. I am going to rework this recipe, to make it fool proof (test different brands of noodles) and more tasty. Sorry for your trouble! 🙂 🙂
I am sad to have to say this, but I had two problems with this recipe. First, I followed the recipe exactly, and got a burn notice. Second, it was waaaay too salty. Not sure why no one else had that issue. I could barely eat it 😞. Any tips or advice is welcome.
Hi Rachel, I am honestly not sure. We actually recently sent this recipe out to a professional chef to tweak it and confirm the ingredients/steps for accuracy. We did this because others have had issues with it and others have had it turn out perfectly. Its certainly a bit of a mystery. The only thing we can come back with is perhaps it is a difference in the ingredient brands. The salty could be cut down by using no sodium added vegetable stock or using water and also cutting back on the soy sauce or using a coconut amino (like soy sauce but has less salt and a sweeter taste). For the burn notice, we haven't had that problem, but it could be for a variety of reasons. Essentially it means the food at the bottom or the pot is getting too hot. It could be a piece of food that is stuck at the bottom of the pot (starchy foods often stick) , it could be that the steam value wasn't set 100% to the sealing position or the silicone sealing ring isn't fitted 100% in place. Was there any noodles stuck to the bottom? There is more than enough liquid to not trigger it, generally if its less than 1 cup of liquid it can trigger it. I know that may not give you the answers that you are looking for, but those are my guesses to why the burn notice came and also a couple of suggestions to lessen the salt taste. I really appreciate you coming back to let me know and ask questions. I am so sorry that the experience wasn't great.
I had the "way too salty" issue as well! I'm just going to play around with the liquids ratios and maybe add some water or something. It was good otherwise!
I’m planning on making this tonight. On step 5 it says to cook for “0” minutes? That’s got to be wrong.
Hello, it is correct. By doing that it brings the IP to pressure and that build of pressure and heat cooks the noodles without overcooking them. 🙂
I don’t normally post comments but since there was a division about whether this recipe was good I figured I’d better. It didn’t work. I used the rice stir fry noodles I got at Walmart. Their flavor was awesome but they were already mushy after cooked so I removed them before cooking the veggies which also came out mushy. The whole dish ended up being a lot of work and clean up and it was meh.
Hi Beth,
Thank you for leaving a comment, it truly is important :). I am sorry that your experience left you feeling meh. For some reason this recipe seems to be amazing for some and not super great for others. To be honest, we've made it several times, I've hired additional chef testers (2) to test and reteset to try to figure out where there could be problems and it turned out good for them, which doesn't help readers like you. I am sorry that it didn't work for you and you didn't have a good experience with it that is not my intention.
I find that the vegetables get too mushy if put in to cook with the pad thai noodles, so I like to add them after the noodles have already cooked. To let them steam and cook through, immediately after the noodles have finished cooking and the pressure is released, I open up the lid and add the vegetables. Immediately put the lid back on the Instant Pot, set the valve to sealing and set the timer for 0 minutes. Basically, the pressure will build up and then once it builds, the timer will go off. It takes just 4-5 minutes, which is enough for the vegetables to cook through. I also like to place my vegetables in the Instant Pot in the order they are listed in the ingredients list. Carrots go on the bottom since they are heartier and need a little extra heat to cook through. Zucchini goes on the way top, since it doesn’t need as much cooking time and tends to get mushy easily.
Alternatively, others have told me that they have done the veggies first with the sauce, then add some water, put the machine on saute, add noodles, stir, put lid on and check/stir every 3 minutes until noodles are done and soaked up the water. You do have to play with the water amount though, I do not have a measurement, the readers who shared that with me did not provide that.
Thank you again for your comment, I appreciate the time you took to make it and come back to leave feedback. I wish it has turned out better for you!
Just made this tonight and it was delicious! Worked perfectly for me in my instant pot. I accidentally used 14oz of rice noodles instead of 8 and it was the texture of the noodles was still perfect. I prefer my pad Thai a little on the sweeter side so did add another cup or so of water with about 3 more heaping tablespoons of brown sugar and a little peanut butter. I’m sure I also used more ginger and garlic than called for in the recipe-probably like 2 tablespoons of each-I love bold flavors! Anyway really good starting off point for veggie pad Thai! Thanks!
Hello, if you don't have an instant pot, can you use a crock pot? Thanks!
Hi Karen,
If you do not have an instapot, you will need to complete the sauteing or other modified items on the stove and add all items to the crock pot. Also, the time will be longer as most recipes with crockpots are 4 to 6 hours. If you want to try it, please let me know how it turns out in the crockpot. I have not tried these in a crockpot.
Thank you,
Alysen