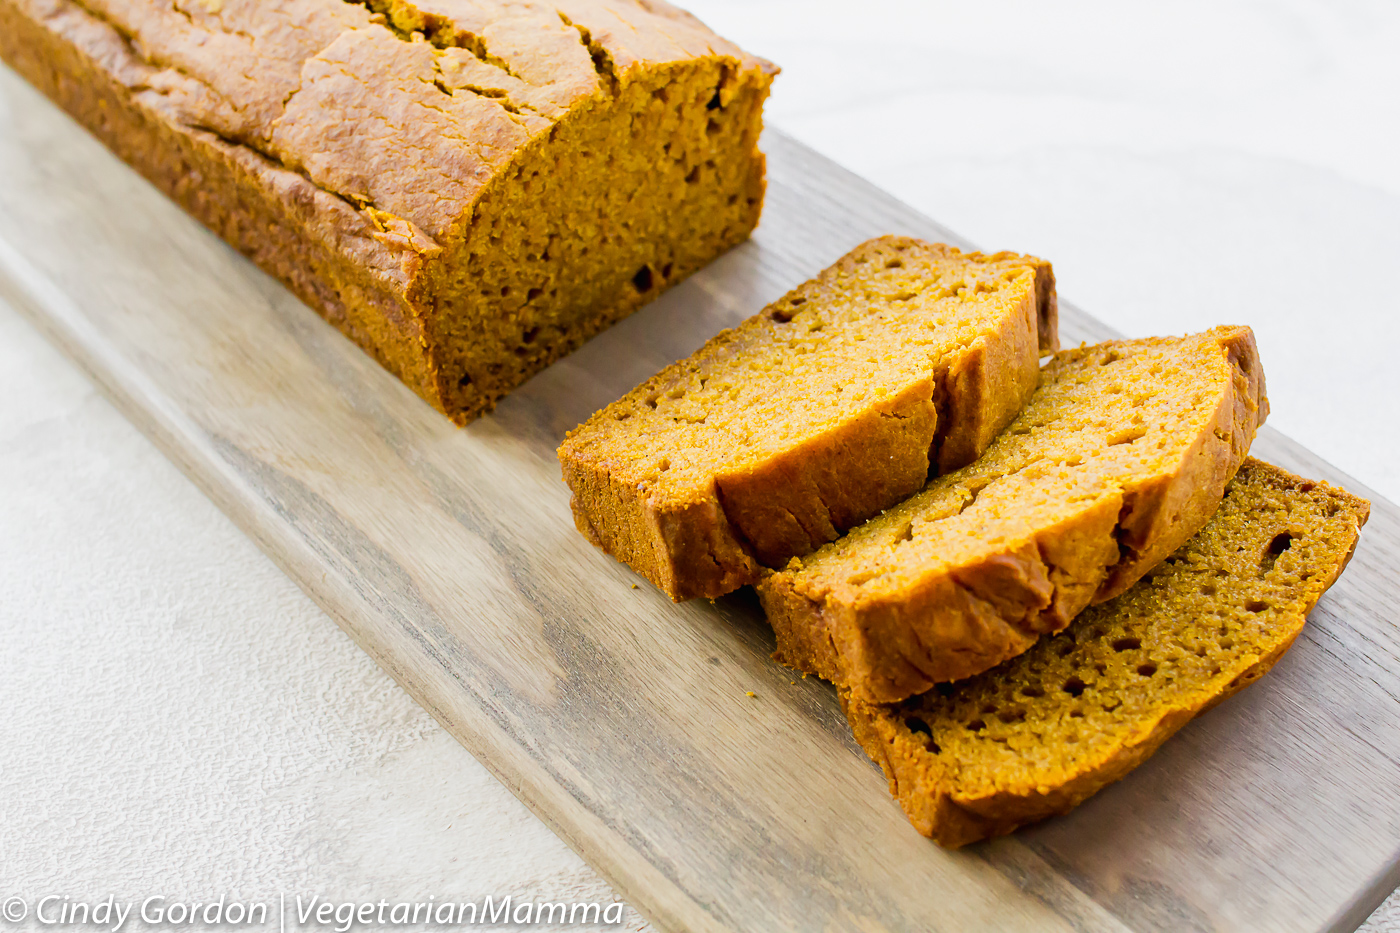
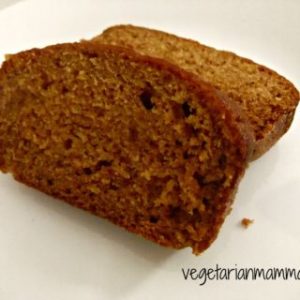
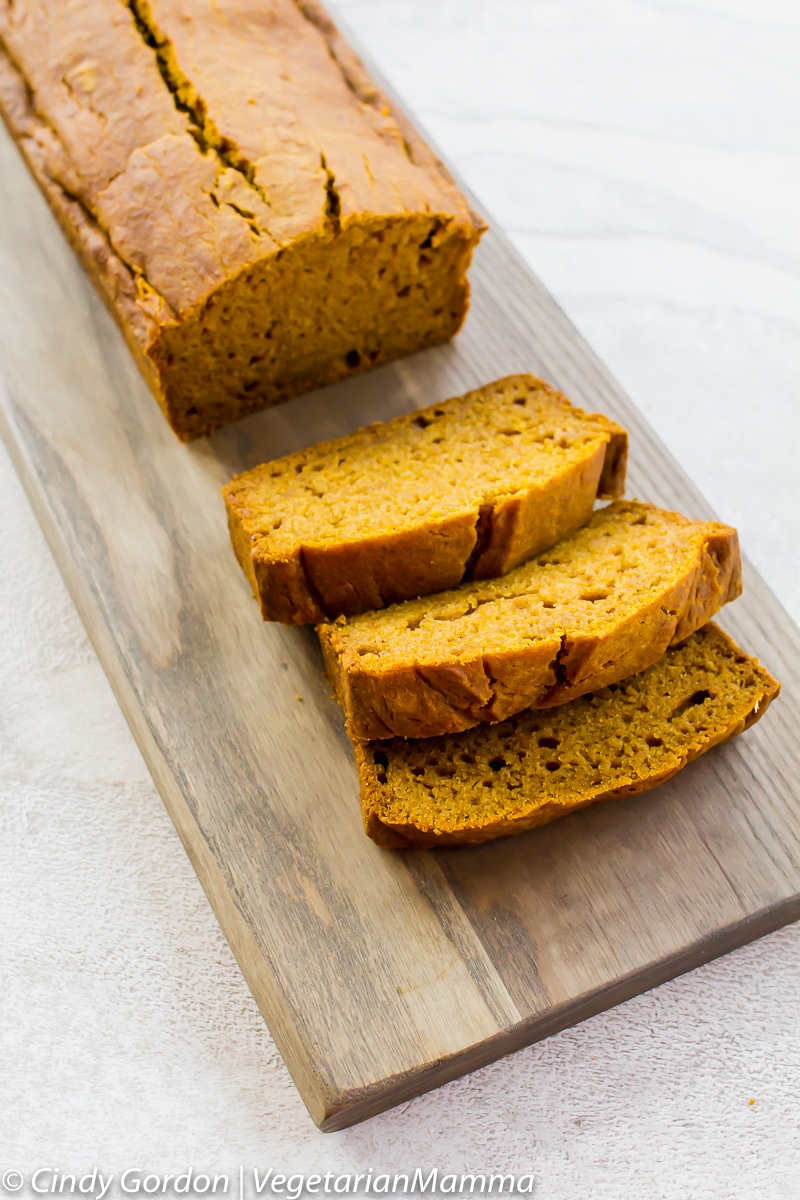
This Gluten Free Pumpkin Bread recipe is a quick and easy gluten-free bread that your entire family will love! Miss Starbucks pumpkin bread? You won't after trying this!
Gluten Free Pumpkin Bread
Welcome Fall! Yes, I said it….welcome…..FALL! It is literally almost there and that means everything pumpkin! If you love pumpkin you need to check out our Gluten Free Pumpkin Pancakes and our Gluten Free Pumpkin Chocolate Chip Muffins!
For me, the excitement comes from the cooler temperatures, the beautiful green leaves that turn into other beautiful colors and of course, pumpkin! I seriously, love fall! I got married in the fall, my first child was born in the fall! I mean, the fall time is pretty great! Don’t you agree? 🙂
We definitely have all FOUR seasons here in Ohio. Granted sometimes the seasons seem to get mixed up a little. For example, last May we seemed to have full-blown summer temperatures. Then it got cool again, then back to HOT at the end of June. As the saying goes, “If you don’t like the weather here in Ohio, just wait 5 minutes.” It sure does change frequently around here! But, with that said, I am excited for the fall! Bring on the jeans, sweatshirts, and my pumpkin foods and drinks!
For years, I’ve heard my friends OH and AH over the pumpkin loaf at Starbucks! Well this girl, cannot eat that! It has gluten! ACK! But there is ONE way to fix that...make it yourself!
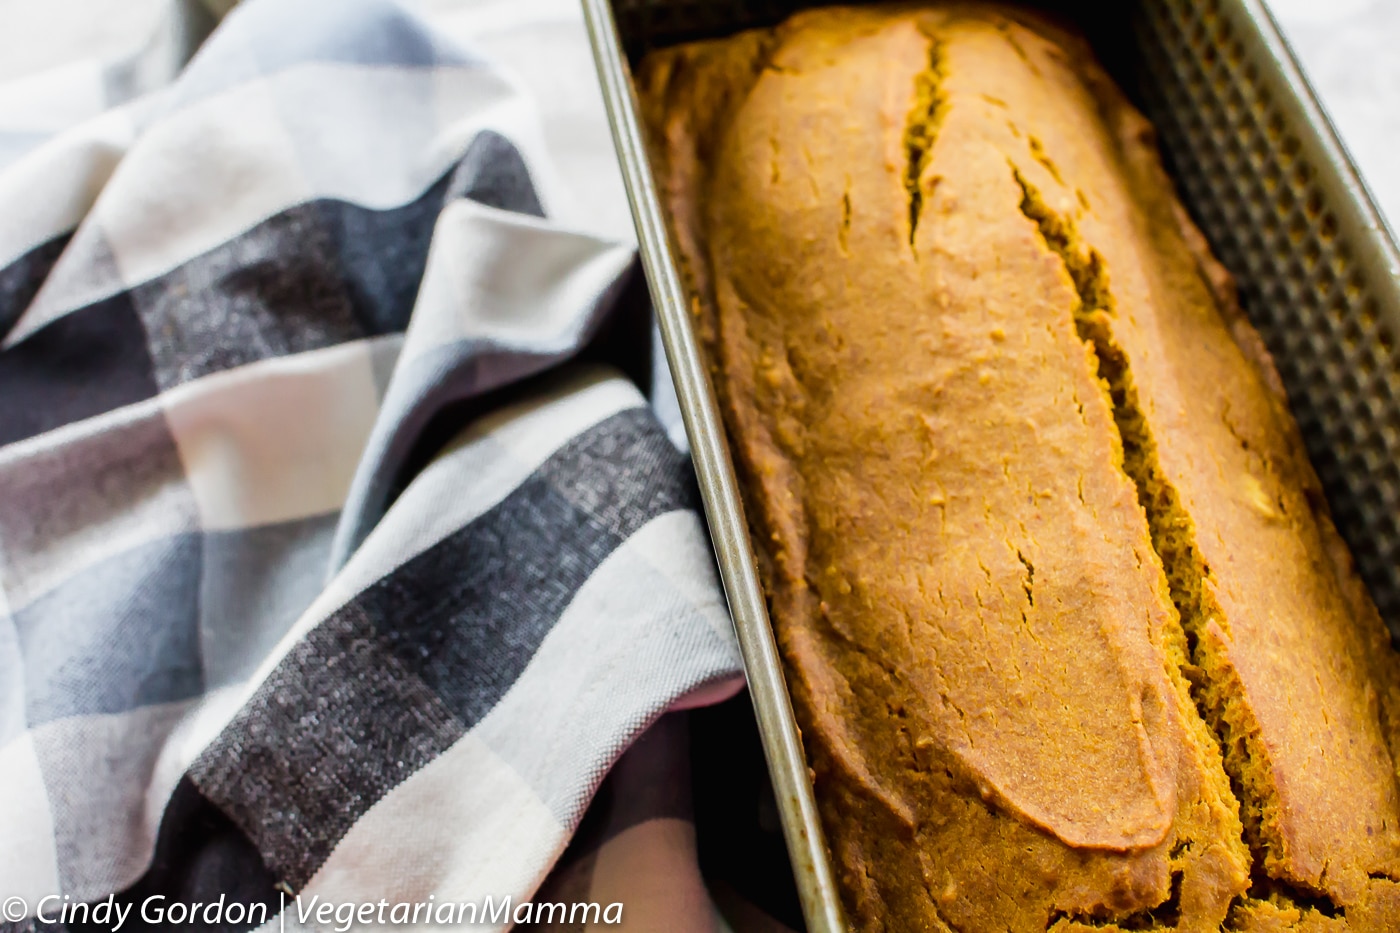
How To Make This Gluten Free Pumpkin Bread
This is not your average Starbucks pumpkin bread or your typical Martha Stewart Pumpkin bread, this is better! Honestly, it is a struggle to eat any baked goods at Starbucks, when you have to eat gluten-free. I mean I do love Starbucks drinks! This gf pumpkin bread is what you are looking for! The best part: you know exactly what goes into it and there is NO cross-contamination when you make it at home!
There are a lot of recipes out there for “one bowl pumpkin bread.” I guess you could call this one that if you wanted. I did use two bowls, but it is simple enough to combine into one bowl.
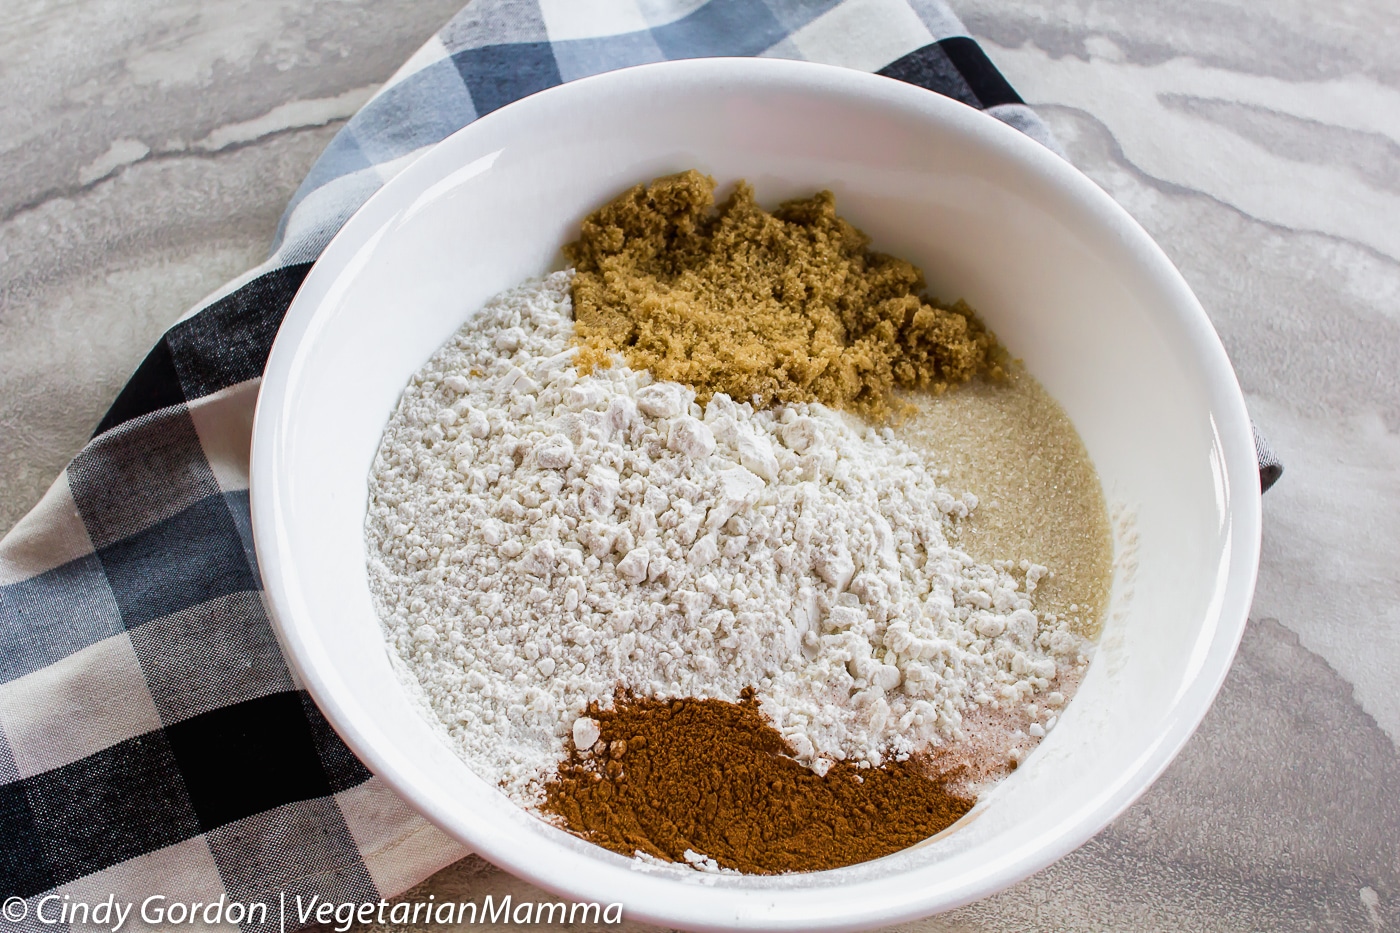
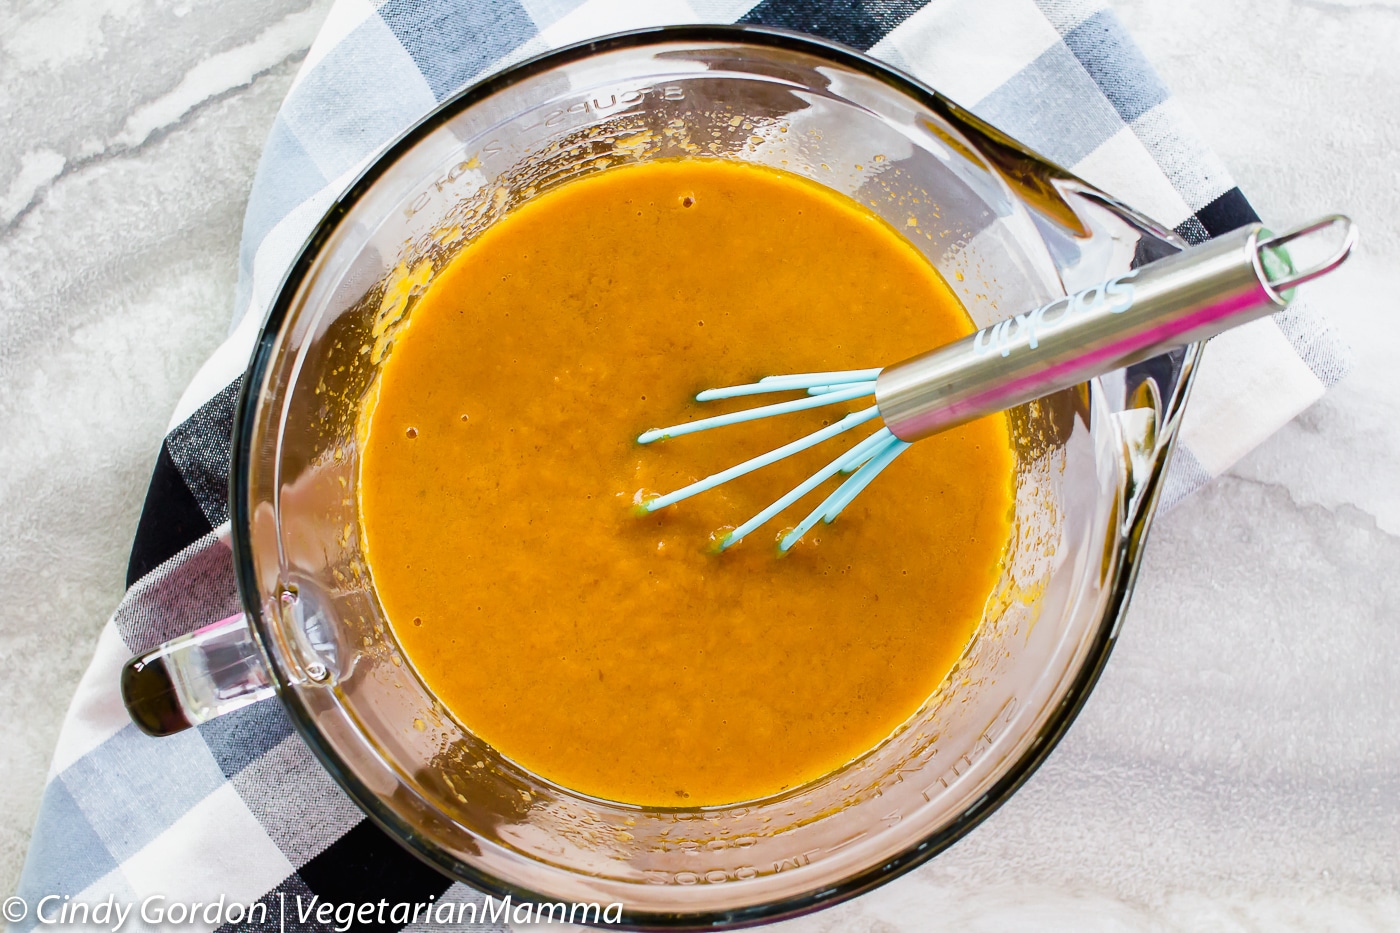
So I combined all the wet ingredients in one bowl, then all the dry ingredients into another. Then I slowly mixed the dry ingredients into the wet ingredients.
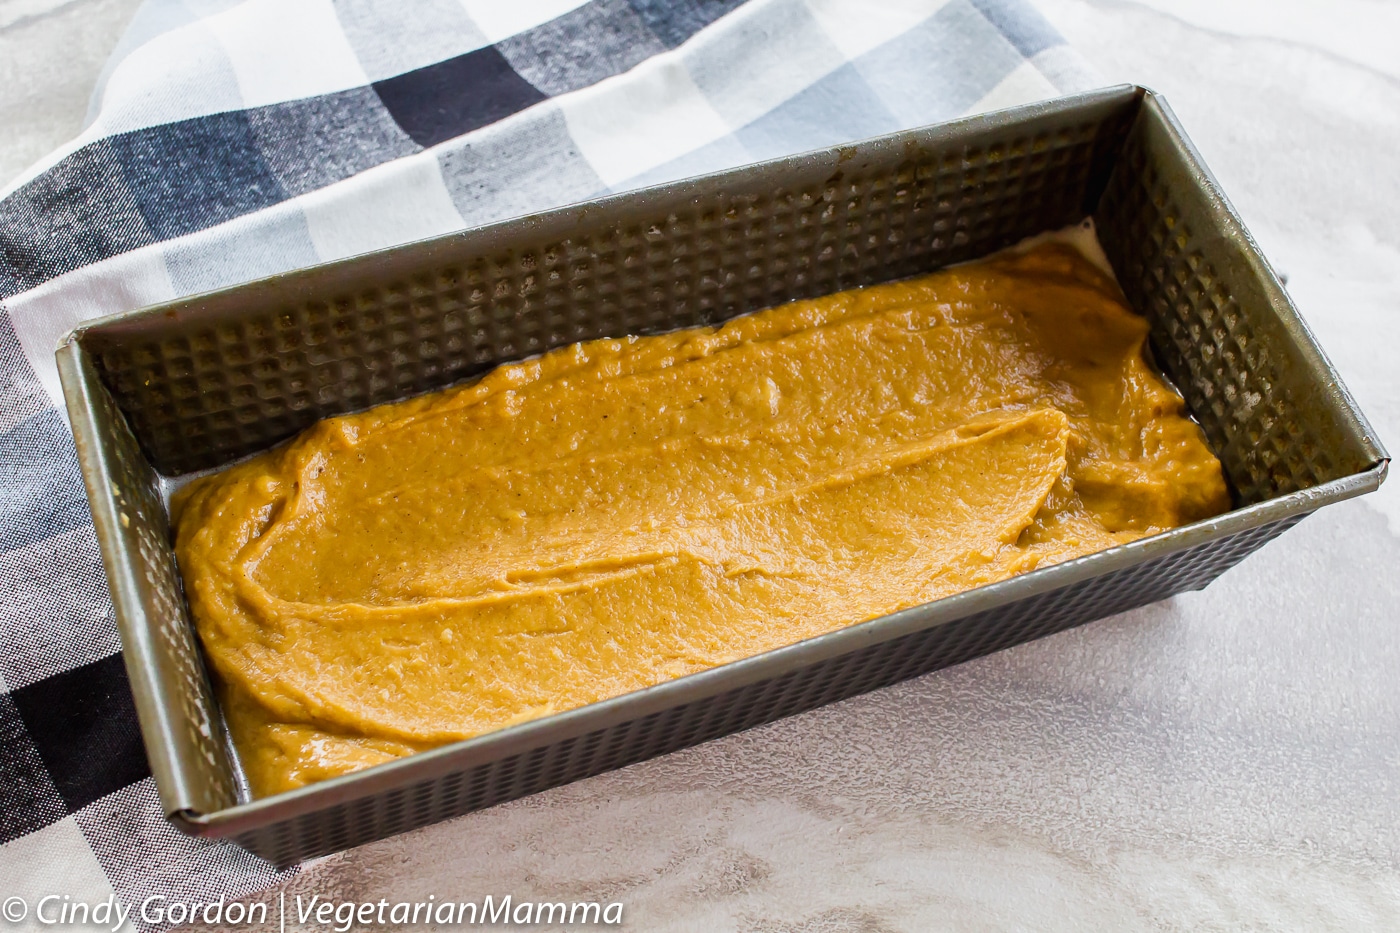
Then I placed my batter into two bread pans. Here, is where it can get tricky. I used a metal and a ceramic bread pan. Both have different cooking times! So just be aware of what you are using. Basically, you are baking in the loaf pans until a tester is inserted into the center and it comes out clean.
So why is there a baking time difference between metal and ceramic? The truth is, that ceramic (or glass) isn’t as great of a conductor of heat as metal! The glass or ceramic heats up quicker and retains heat, so the food items typically cook faster.
Are you needing a bread pan? Here is one similar to the metal bread pan (affiliate ad link) I used. If you want to go the ceramic route, here is one that is similar to the ceramic bread pan (affiliate ad link) I used.
Tips for making this pumpkin bread
- Use pumpkin puree. Not pumpkin pie filling which has added sugars and ingredients.
- Fill correctly. Fill up your bread pan between ½ and ¾ full of batter after you have lightly oiled the pan.
- Measure correctly. Measure your flour correctly so you don't end up with too much. Spoon the flour into the cup and level off.
- Pay attention to the pans. If you use a glass or ceramic pan then it will cook much faster than a metal pan.
Fill it up!
Filling up your bread pan to the correct height makes a difference on baking time. You should be filling your loaf pan between ½ and ¾ full of batter after you have lightly oiled the loaf pan.
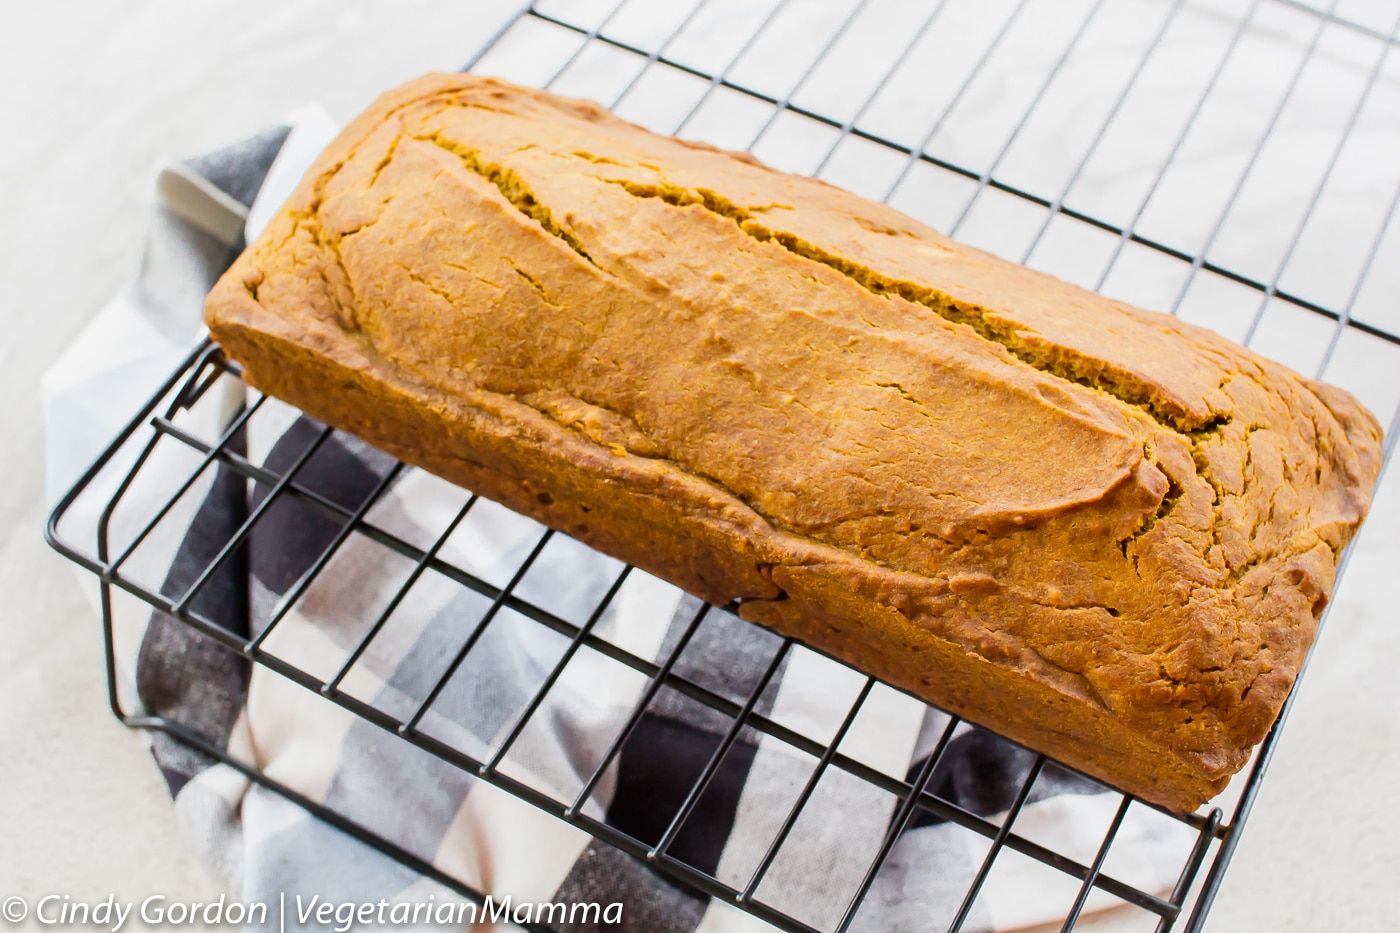
The next part is the hardest! You have to let the bread cool completely….almost. While it doesn’t need to be at room temperature, it does need to cool considerably before you cut it. If you cut it while warm, it will crumble.
Health Benefits of Pumpkin
Believe it or not, there are several health benefits to pumpkin! Pumpkin puree is loaded with fiber, which helps to support healthy digestion! Pumpkin puree also is stocked full of iron. Iron gives your immunity system a boost as well as your eyes, bones and teeth! There are quite a few benefits to consuming pumpkin! Who knew?
How to make homemade pumpkin puree
Are you wondering how you can make homemade pumpkin puree and not use the canned stuff? Roasting a pumpkin is pretty easy! Check how my instructions on how to roast a pumpkin for fresh pumpkin puree. Be sure that you are using real pumpkin and not a pumpkin pie mix. This is a pumpkin bread with real pumpkin.
Can I use an egg substitute for this wheat free pumpkin bread?
This recipe is very egg heavy. Typically, when you replace eggs in a recipe, it is for 1-2 eggs. Egg replacements will not work in this recipe since it calls for four eggs.
What can I top the pumpkin loaf with?
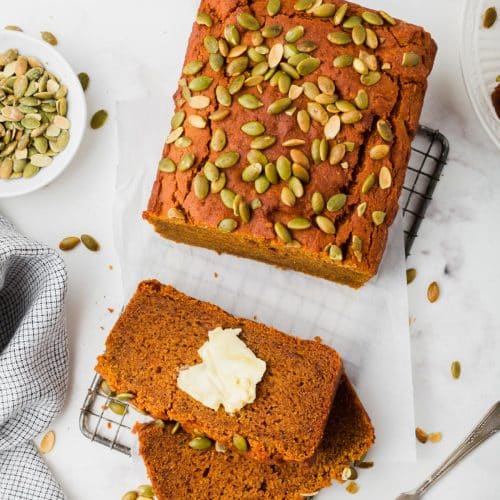
If you want some crunch on our gluten free pumpkin bread you can top your loaf with some pumpkin seeds or chopped nuts if that is in your eating plan.
What if I don’t have pumpkin pie spice?
Pumpkin pie spice in this recipe just makes it easier. Did you know that pumpkin pie spice is made up of: cinnamon, cloves, ginger and nutmeg. So if you do not have any pumpkin pie spice on hand but you have the other spices, you can add those in!
What type of gluten-free flour did you use for this pumpkin bread?
For this pictured recipe, I used Bob’s Red Mill Gluten Free Flour. Their 1-1 all purpose flour. This was the flour that I had on hand at the time, from a previous post. The important part is that you choose a gluten-free all purpose. This flour had xanthan gum in it, so I did not need to add anything additional. I’ve had great luck with GF Jules Flour , Better Batter and Ryze Flour! All of those are gluten-free. (all affiliate ad links for flours)
Can I adjust the sugar?
Absolutely, you can adjust the sugar. I used cane sugar in this recipe, but you are welcome to use the type and amount of sugar (or sugar substitute) that you wish!
High Altitude: If you live in a high altitude, you will need to adjust the recipe accordingly. I made this at about a 1000 feet above sea level.
Can you put bread back into the oven?
You know the drill, the timer dings to let you know your bread is done. You remove the delicious smelling bread from the oven and it looks completely baked through. But, you do not insert a tester. You come back when the bread is cooled down some, insert the tester only to find that the bread is NOT cooked all the way through.
Lucky for you, you can put the bread back into the oven to bake it some more! Do not throw out the bread put it back into the oven to bake some more!
Can I make this into muffins?
Of course, you can! Just use an oiled muffin tin and adjust your bake time slightly. I would check the muffins after 12 minutes, then every 5 minutes after that.
Pro TIP: If you see that the top of your bread is browning TOO quickly, gently drape a piece of foil over the top of the bread. The foil should just lay there loose and not be tight. This will help the top from browning further and will still allow the easy gluten free pumpkin bread to keep on baking!
Other gluten free recipes to try:
- Lemon Cranberry Cookies
- Gluten Free Marshmallow Bars
- Dairy Free Vegan Chocolate Truffles
- Gluten-Free Zucchini Bread
- Cashew Brittle
Are you Paleo? You might enjoy this Paleo Gluten Free Pumpkin Coffee Cake.
If you are a pumpkin lover you might also want to try our Pumpkin Air Fryer French Toast, Air Fryer Pumpkin Seeds, and Air Fryer Pumpkin pie.
Pin for later:
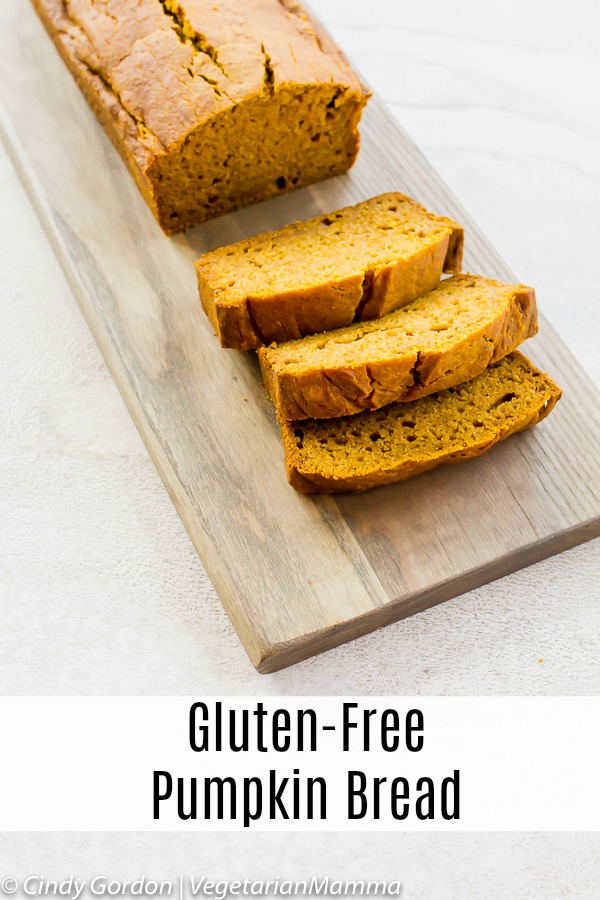
Get your gluten free pumpkin bread recipe here:
Gluten Free Pumpkin Bread
Ingredients
- 1 15 ounce can pumpkin puree (not pie filling)
- 4 eggs
- 1 cup sunflower oil or your favorite oil
- ⅔ cup water
- ½ cup cane sugar
- ½ cup brown sugar
- 3 ½ cups gluten free flour
- 2 teaspoons baking soda
- 1 ½ teaspoons salt
- 2 teaspoons pumpkin pie spice
Instructions
- Preheat oven to 350 degrees.
- Mix all wet ingredients and set aside.
- Mix all dry ingredients.
- Combine wet and dry ingredients, blend well.
- Pour into prepared bread pans, I used two pans. (I wanted tall bread, you could use 2 or 3 pans depending on how tall you want your bread)
- Bake for 40 minutes in a Metal or until a knife comes out clean.
- ENJOY!
Notes
- Use pumpkin puree. Not pumpkin pie filling which has added sugars and ingredients.
- Fill correctly. Fill up your bread pan between ½ and ¾ full of batter after you have lightly oiled the pan.
- Measure correctly. Measure your flour correctly so you don't end up with too much. Spoon the flour into the cup and level off.
- Pay attention the pans. If you use a glass or ceramic pan then it will cook much faster than metal pan.
Nutrition
Question: Do you love pumpkin flavors? Drop me a comment below...
Here is a sneak peak at our old picture from 2012. I think we have come quite a LONG ways!




I love pumpkin bread!! I want this now!
It will taste great with your fav butter on it, we love sunbutter! 🙂
Your pumpkin bread recipe looks great! Thanks for sharing at Foodie Friends Friday!
You are very welcome! Always happy to join your party!
This recipe looks delicious! I love pumpkin bread =)
Thank you so much!
What a delicious looking loaf! Thanks for all your tips on how to make the best pumpkin bread!
Very welcome 🙂
This bread look so yummy! I want to try it immediately. Great recipe. I like all the ingredients in it. This is perfect for me. thank you.
You are so welcome. Enjoy!
Love this! I have a few gluten free friends and will def try out this recipe this fall. There's kinda nothing like warm pumpkin bread with a slab of butter. JMO!
YES YES YES, so delicious!
pumpkin bread is our favorite this time of the year I would love a big slice with cream cheese on it !
Oh yes, cream cheese for the WIN!
I'm always struggling to find great gluten free bread recipes but this looks amazing! Can't wait to try it!
Thanks Nicole, I hope you fall in love with it like we did! So yummy!
Would coconut oil work? And also, have you added chocolate chips? Thank you!
I haven't tried it with coconut oil so I am not sure on the answer to that one yet. I am just experimenting more with that in my baking. I did add chocolate chips, here is the recipe for that one: https://vegetarianmamma.com/gluten-free-chocolate-chip-pumpkin-bread/
Wow! Well done .... taste was great! I did however use my blend of pumpkin spice rather than store bought. The only problem I found was the cooking time. It took about 65 min before the knife came clean but that’s no biggie.
But the real challenge came when I presented it to my critics.... my family. The were very skeptical about gluten-free, they were impressed. In fact it was gone in one setting.... so A++
Yay! I appreciate you updating me! Yes, cooking times might vary some, I am glad you tested it and gave it extra time to make sure it was baked all the way! Yay for the real challenge with he critics! They are a hard crowd in my house too! Thanks again!! 🙂